


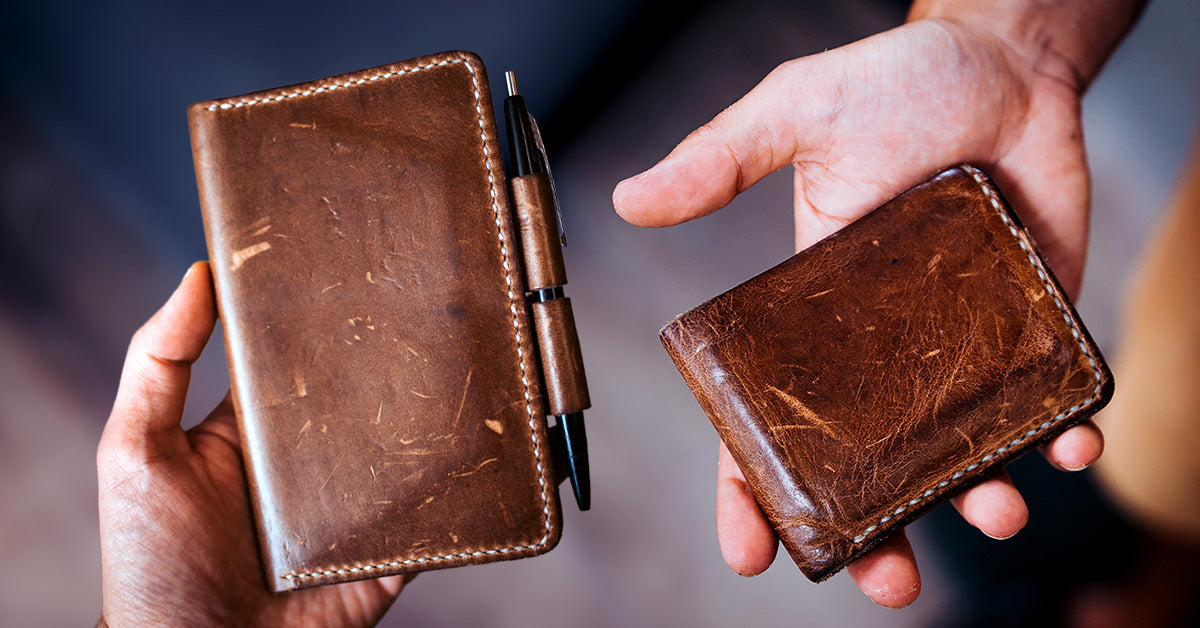
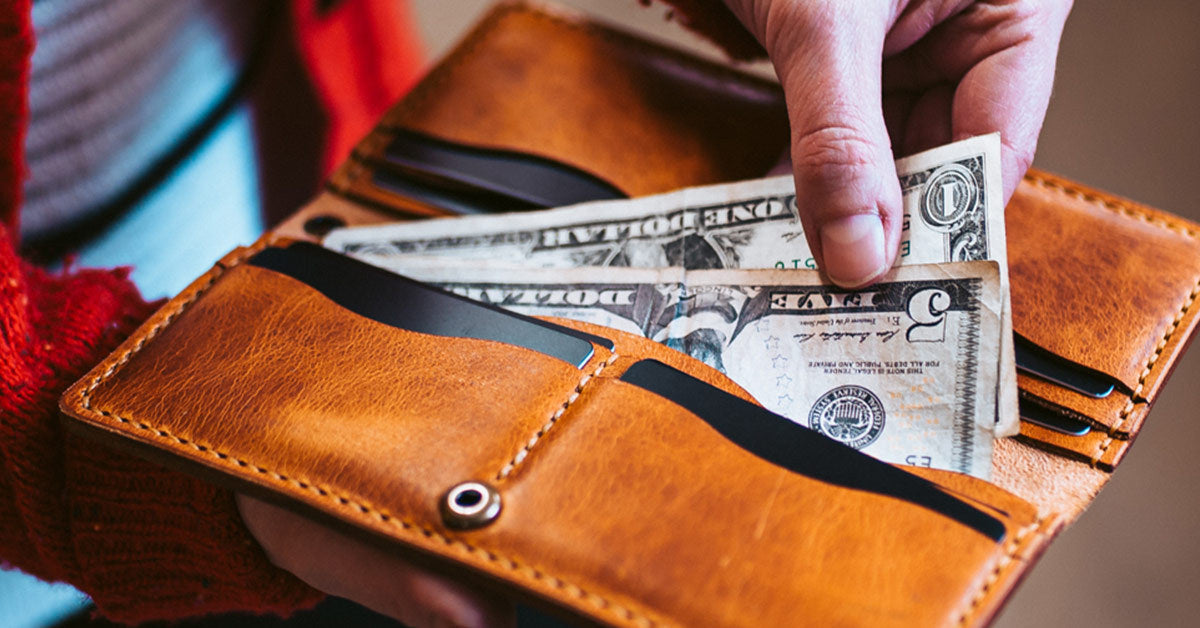
It’s one thing to appreciate a nice patina on your full-grain leather belt or wallet, and another thing to put up with the cracks and damage that can happen to even the best leather when it’s exposed to extreme temperatures or isn’t given the TLC it needs.
As with many things in life, learning how to prevent leather cracking will save you a lot of heartache.
But you may be relieved to know that it’s also possible to repair cracked leather. By cleaning the impacted area, conditioning the leather, and filling in damaged spots with a trusted leather crack filler, you can make your accessories look (almost) as good as new.
What you can do is prevent further damage to your accessories and restore the leather so that the crack looks like normal wear-and-tear rather than like a gaping wound.
Get started by choosing from our top cracked leather repair essentials. Then, read on for a step-by-step guide on how to repair cracked leather so it looks (almost) as good as new.
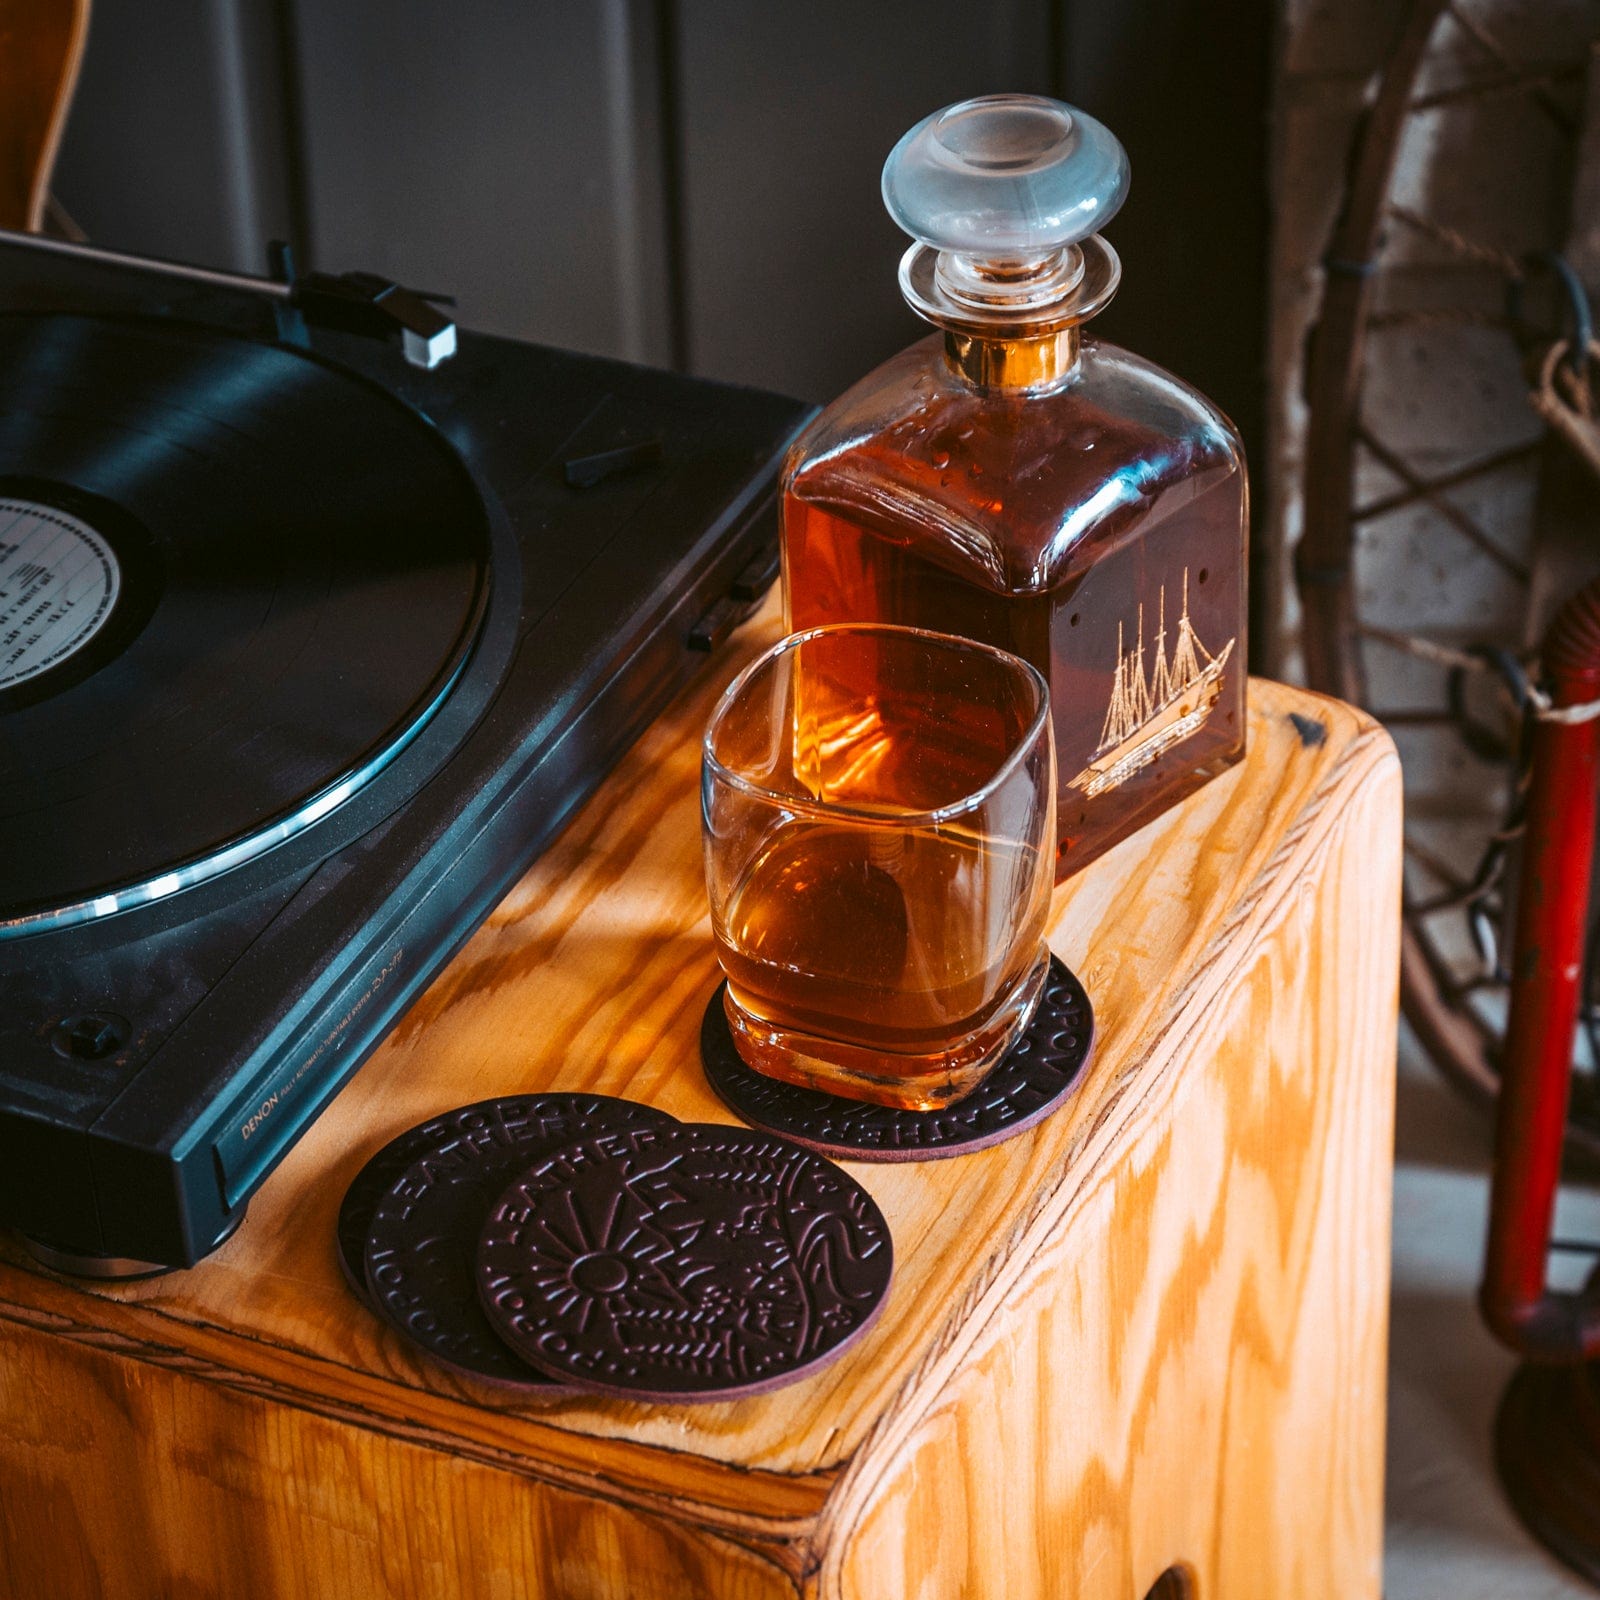
Our Cracked Leather Repair Essentials
| #1 Best Multi-Purpose Cleaner | #2 Best for Reviving Your Leather Products | #3 Best All-in-One Cleaning Kit |
| Popov Leather Scrub & Balm | Popov Leather Balm | Popov Leather Boot Cleaning Kit |
 |
 |
 |
|
Best for:
|
Best for:
|
Best for:
|
Keep in mind that cracks, by their nature, are permanent. This is because a crack means that the fibers —the leather’s very structure—have been damaged.
That said, there’s a silver lining.
Many cracks are easy to hide and can be fixed quickly with the help of an appropriate leather conditioner that will strengthen the leather fibers around the cracked area.
After a quick inspection, you’ll have an idea on the type of crack you’re dealing with:
- A light leather crack is generally easier to treat and can be modified to appear like a normal imperfection.
- A deep leather crack often results from light leather cracks that have been untreated or unnoticed. It’s harder to hide but can be repaired using a leather crack filler.

Table of Contents
What Causes Leather to Crack?

Just like any other natural material, leather can wear out, become damaged, dry out, and eventually crack.
Some of the major factors contributing to cracking are:
- Dryness: When leather gets too dry from prolonged sunlight, air exposure, or humidity, it loses its fibers and becomes more susceptible to cracking.
- Age: As your leather product becomes old, the natural oils that help to keep it soft and supply dry out, making the item more vulnerable to cracking.
- Neglect: Failure to clean, condition, and maintain your leather item frequently can make it crack and wear out fast.
- Stress: Subjecting your leather item to repeated stress in the same area increases its chances of cracking. For instance, creases in your leather shoes or wallet can result in cracks over repeated use.
- Wrong cleaning products: Using leather cleaners with harsh ingredients or those not intended for your specific leather type can strip the leather off its natural oils. This can result in increased dryness and cracking.
Related Article: 3 Common Leather Cleaning Mistakes You Need to Avoid
How to Repair Cracked Leather: 5 Step Guide
Step 1: Clean the Cracked Leather Surface
As the leather ages, dirt, dust, oils, and other particles tend to accumulate on its surface. These buildups can fill in cracks and imperfections, making it difficult for leather repair products to penetrate the leather surface.
Dirt and dust can also aggravate cracks, which can make the damage even worse.
By cleaning your leather’s surface, you reduce these contaminants. This leaves a receptive area for your leather wallet repair efforts.
Begin by gently removing any loose dust, dirt, or grime from its surface using a fine bristle brush. Then, spray a light, even coat of a specialized leather cleaner over the cracked area.

Expert Tip
Leave the cleaning spray on your leather item for about five minutes.
Think of this like leaving a pot to soak in your sink; it gives the cleaner time to break down oils, dirt, and other buildups so that you have an easier time wiping the problems away without scraping at your leather.
Once your leather cleaner has had an opportunity to loosen any grime on your accessory, all it takes is a soft, clean cloth and a gentle circular motion to remove both the cleaner and any buildup.
Step 2: Remove Any Old Leather Conditioner
Some leather accessories may have been treated in the past with conditioners, polishes, or other finishers. These products can form a barrier on the leather. Before you can use leather repair products, you have to remove this barrier.
Pour a few drops of rubbing alcohol onto a clean, damp cloth. Just like when you were cleaning your leather accessories, you’ll want to use a light, circular motion to massage the the surface of your leather. The rubbing alcohol will help disintegrate buildups from the old conditioner, giving you a fresh surface to work with.
Once you’ve removed any old leather conditioner, allow your leather accessory to dry completely before moving on to the next step.
Step 3: Sand the Cracked Leather Surface (if Necessary)
If you’re working with light leather cracks, you won’t need to sand the surface of your leather or use leather crack fillers. Feel free to skip ahead to Step 5.
But if you’re dealing with deep cracks or gouges in your leather, you’re going to need to put in some extra work to smooth the surface of whatever leather item you’re working on. Otherwise, the best you can hope for is a clean, well-conditioned gouge in your leather.

The smoothing process starts with using a fine-grit sandpaper (ideally 600 or 800-grit sandpaper) on all the deep cracks. Apply a consistent and gentle pressure throughout the sanding process to avoid forming uneven patches on the leather.
Remember, your goal is to make the cracked leather surface feel smoother to the touch. Once you’ve done that, use a dry cloth to wipe off any dust before moving on to applying a leather crack filler.
Step 4 - Apply a Leather Crack Filler (if Necessary)
The next step — if you’re dealing with deep cracks — is to apply a high-quality leather crack filler.
This isn’t necessary for smaller cracks in the leather; you can fill those in with conditioning products alone. But for deep gouges, the thicker paste of leather filler is critical to achieving the smooth feel you’re looking for.
To apply the leather filler, use a pallet knife or an applicator provided with the filler to spread it over the cracked areas of your leather item.
Ensure that all the visible damage is thoroughly filled.
|
Consider the following factors when choosing a leather crack filler to ensure the best results:
|
Once you’ve applied the filler to completely fill the cracks, use the same palette knife or applicator to smooth the solution over the filled areas. This gives your leather a seamless finish. Scrape away excess filler with the side of the knife so there aren’t visible inconsistencies.
Let the filler dry for about 15–30 minutes. This allows the filler to adhere to the leather.
Once the leather has partially dried, repeat the filling and smoothing process. Doing this a second time ensures that the surface is as even and as smooth as possible.
This time, let your leather accessory dry completely. This takes at least 2–4 hours. File the surface again using your fine-grit sandpaper, wipe away any dust, and move on to conditioning your leather.
Step 5: Apply a New Leather Conditioner
Conditioning your leather serves a number of important purposes. If you’re working with small cracks to your leather, your conditioner serves as the main filler.
But even if you’re working with deep gouges and have already filled them in using the process outlined above, conditioning your leather is a critical finishing step because it does the following three things:
- Restores moisture to your product: Helps to restore leather’s natural oils and moisture lost during cleaning, preventing it from drying out and becoming stiff
- Prevents further cracking: Keeps your leather item well-hydrated, thus preventing further cracking from excessive drying
- Shields from leather damage: Serves as a protective barrier against harsh elements, shielding leather from harm caused by pollutants, humidity, and dryness
Frequently Asked Questions
How can I prevent leather from cracking?
To maintain leather’s pristine condition and minimize cracking:
- Condition your leather items at least once a month to keep them moisturized
- Store leather in a cool, dry place away from direct sunlight
- Lightly clean your leather accessories after two or three wears or use to avoid dust and dirt buildup that makes them more prone to cracking
- Don’t use heaters, dryers, and radiators to accelerate the drying process
- Only use leather specific products for cleaning, conditioning, and repairing leather
Can I repair cracked leather at home, or do I need to seek professional help?
You can usually fix a minor leather crack by using quality leather repair products.
However, if the crack is severe, consider seeking professional leather restoration services from your nearby leather repair shop or an expert leather artisan.
Can I fix cracks in my leather item with petroleum jelly?
No, you cannot effectively seal the cracks in your leather product using petroleum jelly. Petroleum jelly is meant to be used as a lubricant and moisturizer. It lacks the adhesive and bonding qualities needed to successfully fix cracked leather surfaces.
Instead, consider using a specialized leather conditioner for light cracks. For deep cracks, follow the process outlined above.
Article by Ryan Popoff
Ryan Popoff is the creative mind behind Popov Leather wallets, iPhone cases, belts, watch bands and journals since 2013. With a Bachelor Degree in Fine Arts, my leatherworking journey began at home. I wanted to create a simple leather wallet that could fit into my front pocket and — to my delight — it was a hit with family and friends. Hopefully you love our honest, quality leather goods too! Reach out with questions.


Leave a comment
All comments are moderated before being published.
This site is protected by reCAPTCHA and the Google Privacy Policy and Terms of Service apply.